Upload CGM data to Diabetes Research Hub(DRH) using a UI
Upon successful login, you will gain access to your organization account. You will also be able to view your study databases. You should now be able to upload your file to your study database.
Note: You will be able to upload only one file at a time.
Prerequisites for File Upload
- Ensure that your organization account with the database having the name of the study (the database to which your file will be uploaded) exists in DRH.
- The currently accepted formats are .csv, .xls, .xlsx.
Step-by-Step Guidelines for File Upload to DRH
Before you can upload the CGM data file, you will need to navigate to the database (the database to which your CGM data file needs to be uploaded or imported). The steps mentioned here are only for data import to an entirely new table and not to update the records to an existing one.
There are 2 ways to import CGM data from a file. They are:
- Direct File Upload
- Editor Option
The Direct File Upload option is explained in the steps below.
-
Navigate to your database from within DRH
-
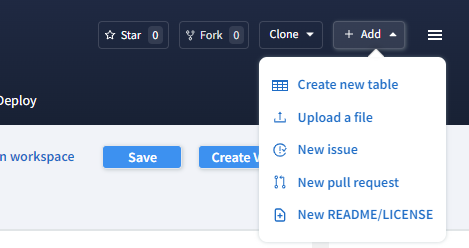
Select the ‘Upload a file’ option from the menu. See image below:
-
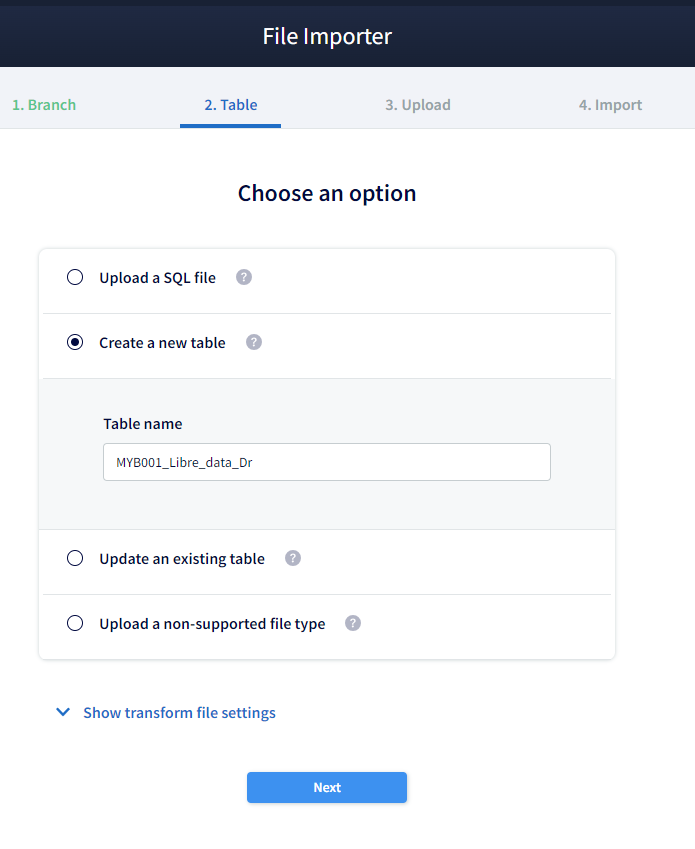
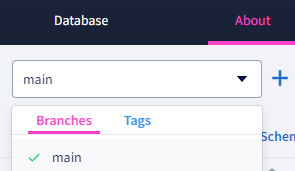
Select the ‘main’ branch from drop down and click Next.

-
Provide a name for the table (a name that can easily help distinguish the data) and click Next.
-
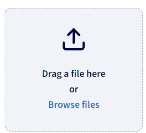
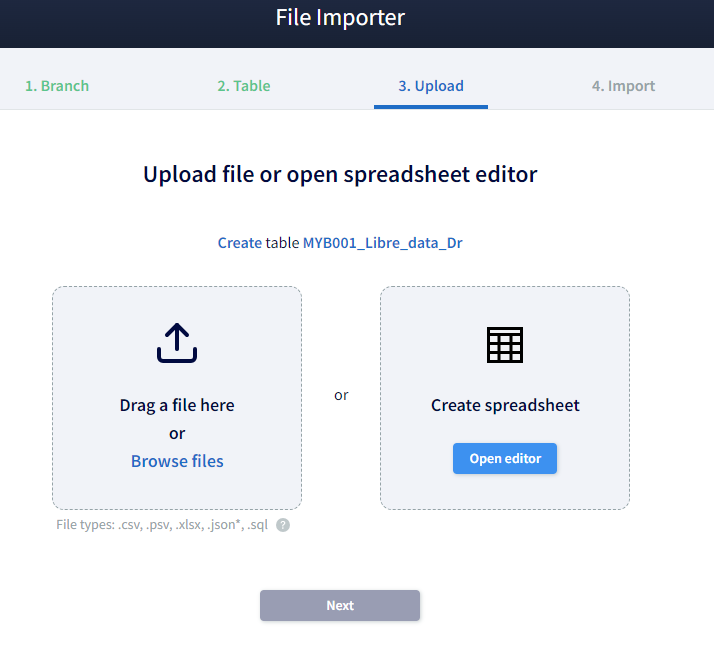
Select the file to be imported using the option shown below.
-
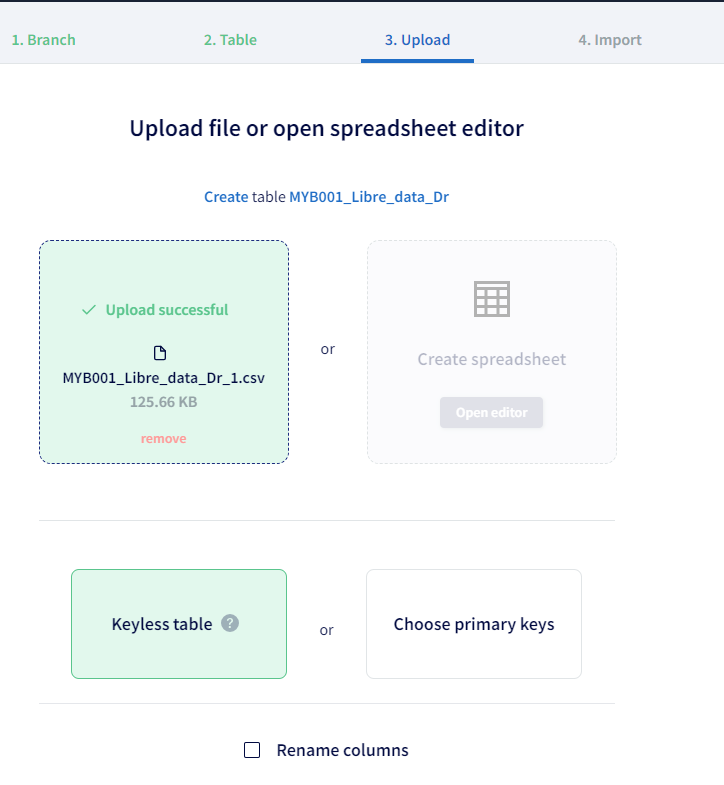
Provide a valid file format and ensure the contents are correct. Click Next.
-
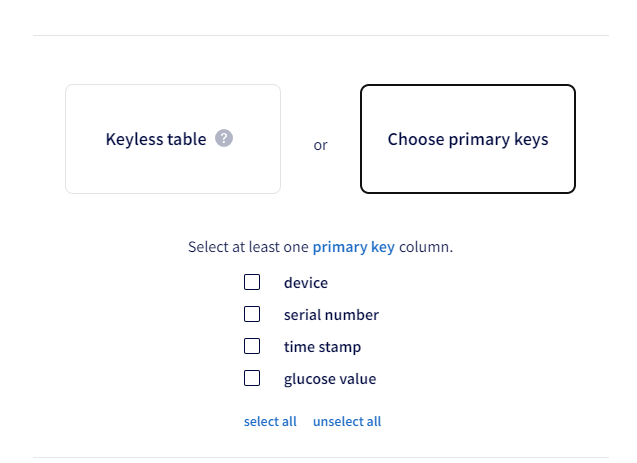
If the file upload is successful, you will have the provision to either select ‘Choose Primary Keys’ or ‘Keyless table’ as shown below.
-
Columns from the file will be shown for choosing the primary key, if you decide to go with the Primary Key option.
-
In the steps below, we have chosen the Keyless table option. Click Next.
-
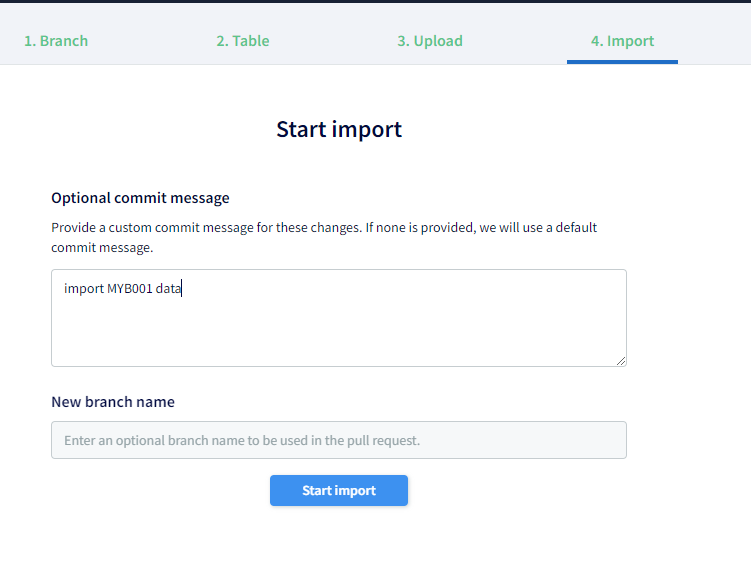
In this window, please type in a commit message. A commit message will let you add a small description of what you are trying to save to the database and why. Leave the New branch name blank for now. Click Start import.
-
The data import starts, displaying the status as ‘Pending’. Wait until it turns to ‘Succeeded’.

-
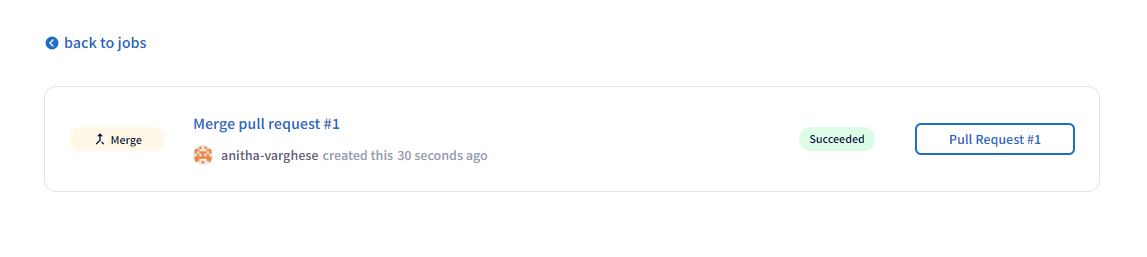
Once the status becomes ‘Succeeded’, select the ‘Pull Request’ button to the side of the status display.

-
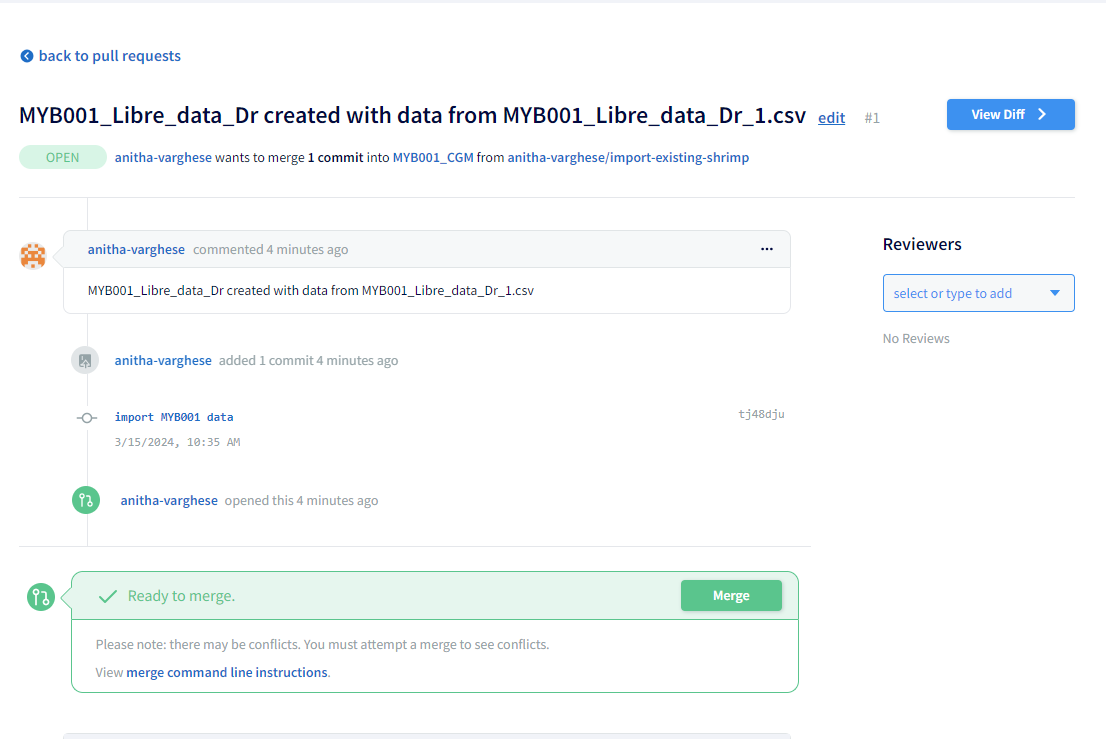
The Pull Request will merge the data into the main branch that we opted in step#3. See Image below.
-
Select the Merge button
-
Merge Request will show as ‘Pending’ status. Wait until it turns to ‘Succeeded’.

-
Once it turns to ‘Succeeded’, you can verify the data.
-
Select the ‘main’ branch from the side menu.
-
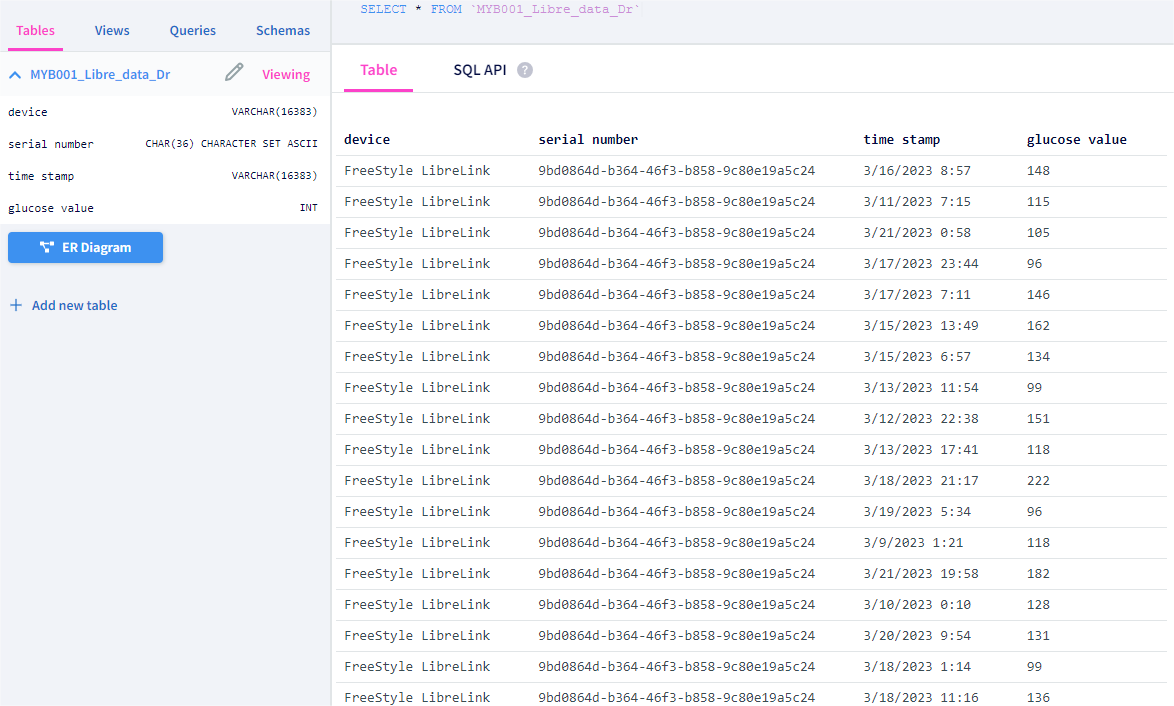
View the contents. You can see that the data in the file has been imported into a tabular format in your database.
Note: Your data will currently reside in the main branch of your repository.